Email Management: How to Add a Forward to a Mailbox - Video
An Email Forwarding can be created by setting up a new mail forwarding address to its destination or adding it to an existing mailbox. This option can be done by following these steps according to your goal.
Email Management: How to Create an Email Forward
An Email Forward allows you to direct incoming email messages to another email address automatically. It has no inbox, and nothing is stored on the server.-
Log in to your Domains Dashboard.

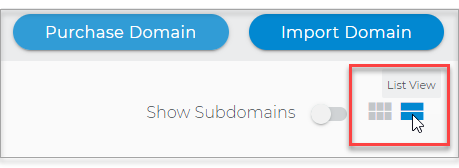
- There are two views in the Domains dashboard - the Card and List views. Click on the view icons to switch to your preferred view.
- Choose the domain where you want to create an email forward.
In the Card view, click the domain's Manage button.

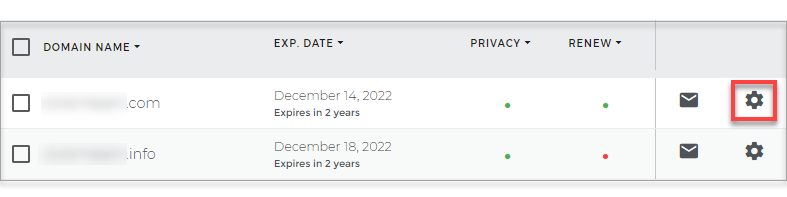
In List view, click the domain or its gear icon on the right-hand side.
- In the left menu, click the Standard option under Email Management.
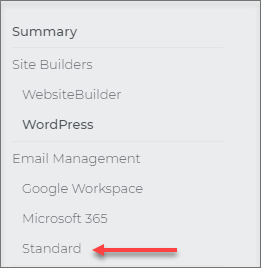 Note: The Standard option is only available if you have a purchased hosting plan; otherwise, it will not be visible under the email management category.
 - Click on the Add Email button.
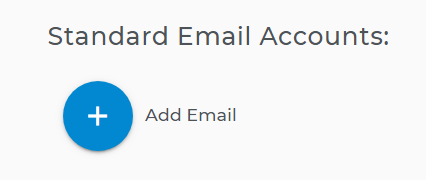
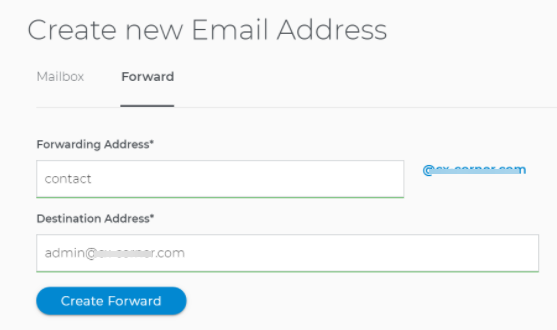
- On the next window, select Forward. Then set up your forwarding address and destination address. Once done, click on Create Forward.
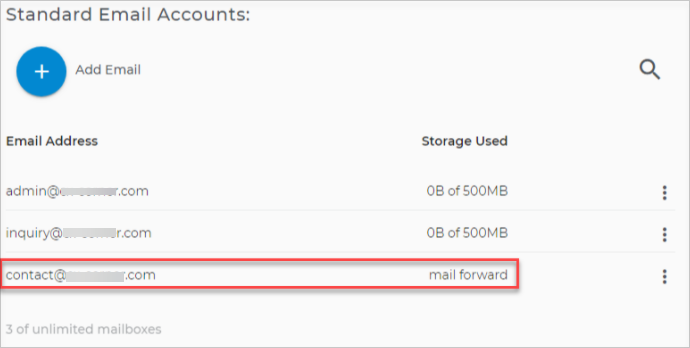
- You will then see the forwarding email address in your account.
Email Management: How to Add an Email Forwarding to a Mailbox
The following steps explain how to add an email forwarding to a specific mailbox. Here, messages are stored on the server, and at the same time, you are sending a copy of your incoming mail to a specific email address.-
Log in to your Domains Dashboard.
- There are two views in the Domains dashboard - the Card and List views. Click on the view icons to switch to your preferred view.
- Choose the domain where you want to create an email forward.
In the Card view, click the domain's Manage button.
In List view, click the domain or its gear icon on the right-hand side.
- In the left menu, click the Standard option under Email Management.
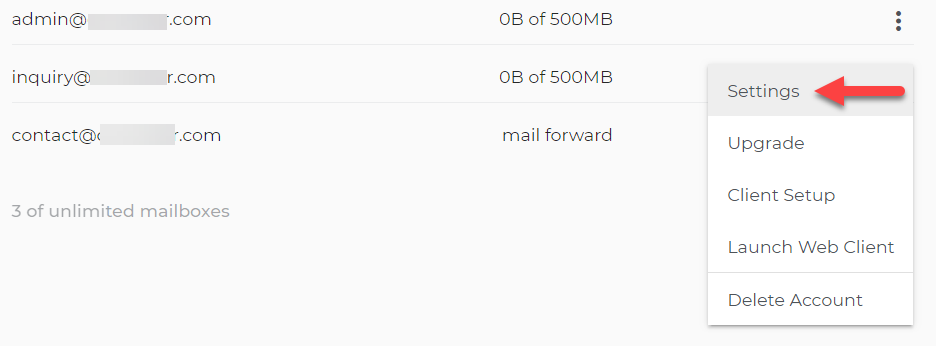
- Click the Options menu on the email address where you want to add the forward.

- Click Settings on the Options menu
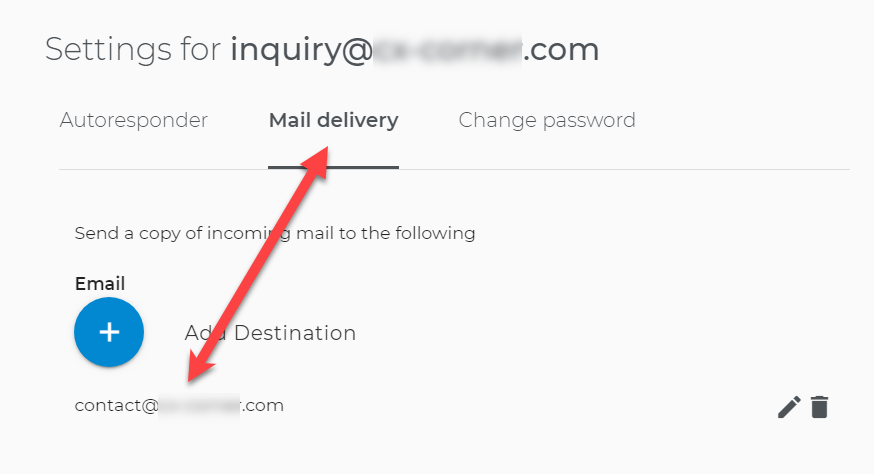
- On the Mail Delivery tab, Click the Email + and add the forward destination for this email box. Check to accept the change.
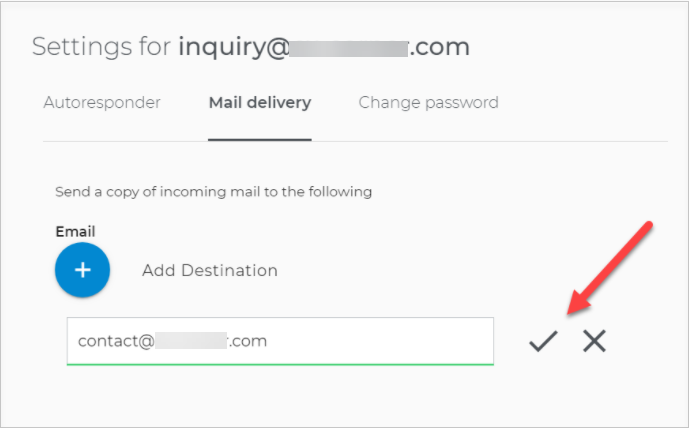
- You can always check the Mail Delivery tab to find the destination for an email address.
Creating an Email Forward and adding an email forwarding to a mailbox take effect instantaneously. To check the available Standard mailboxes, visit How To Check My Available Standard Mailboxes to create in your account.
Back to top.
Related Articles: