How to Install Joomla
This article explains how you can manually install Joomla through the cPanel.
For the step-by-step video tutorial on how to install Joomla, please visit Install Applications.
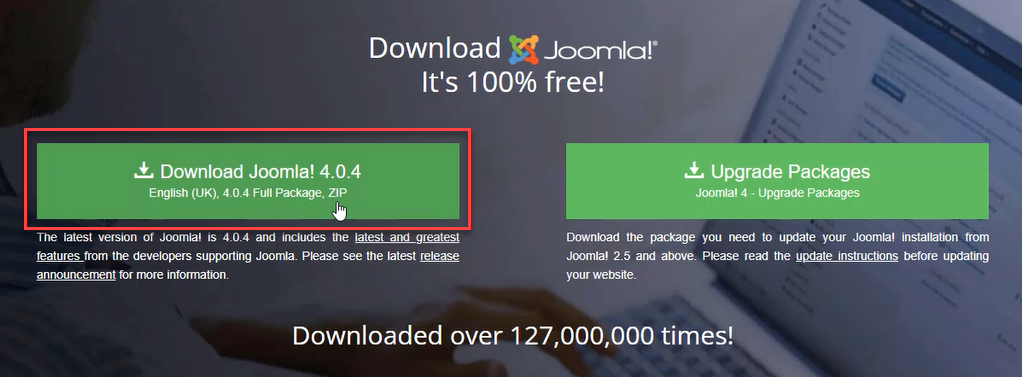
Download the Joomla Files
Download the latest version of the software at the official website of Joomla.
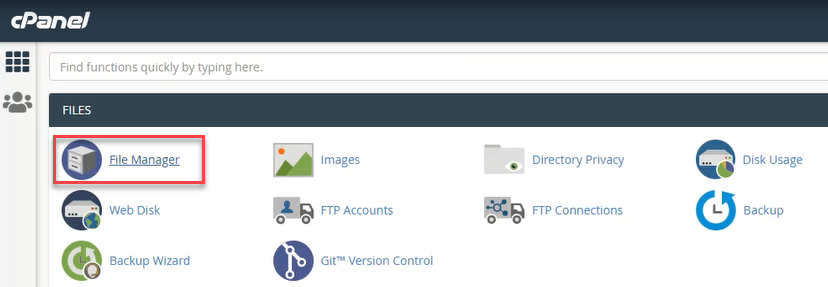
Upload the Installation Files
- Inside the cPanel account, go to your File Manager to upload the Joomla installation package.
- Choose a folder where you want to upload your files. In this example, files were uploaded in public_html. Once you have decided or created a folder, click Upload.
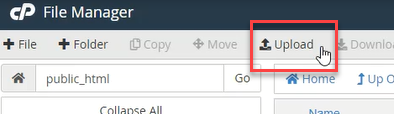
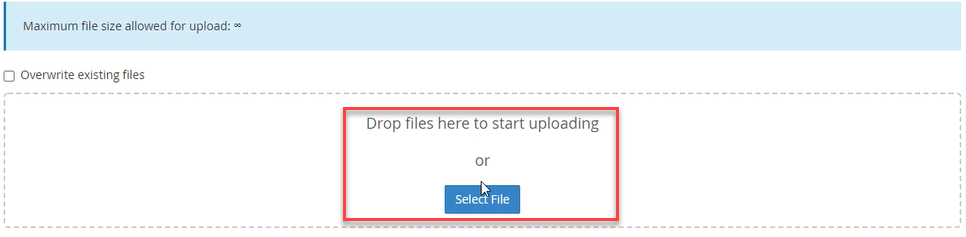
- On the upload screen, you can drag and drop the zip file you just downloaded from the Joomla official website, or click Select File.
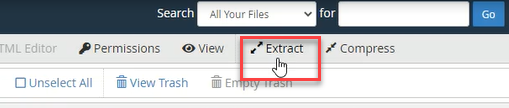
- To extract the uploaded zip files, click the Extract button.
Create a Database
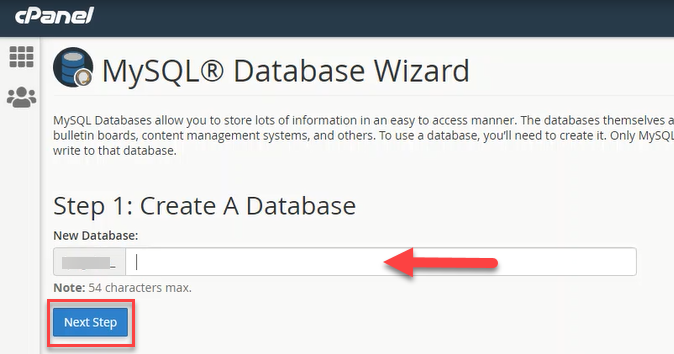
- Create a database and user account for your Joomla installation. To do so, click MySQL Database Wizard inside your cPanel.

- Provide a database name, and click Next Step.
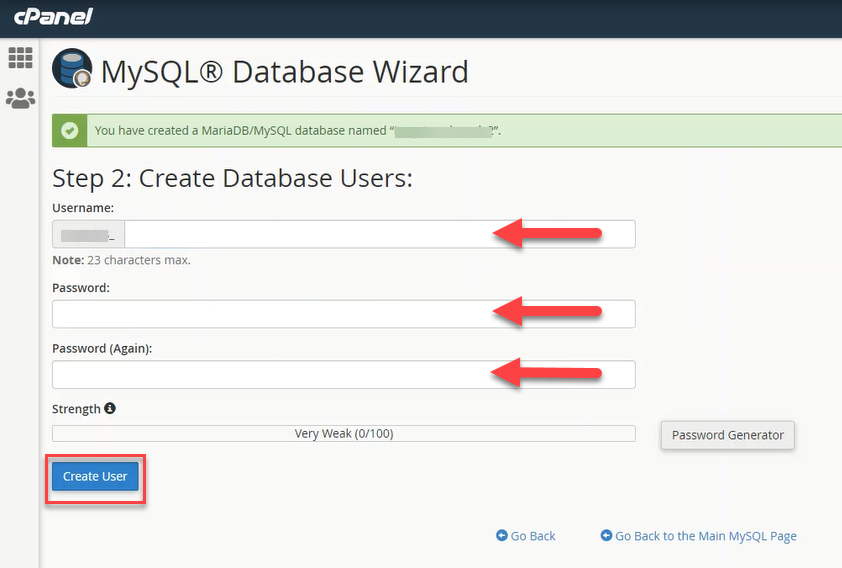
- Create a database username and a password, then click Create User to proceed.
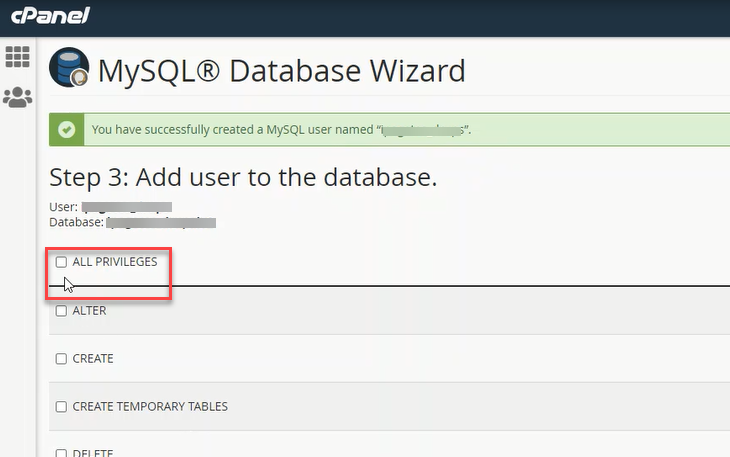
- Ensure that the ALL PRIVILEGES box is checked.
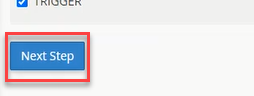
- Click Next Step to finish the task.
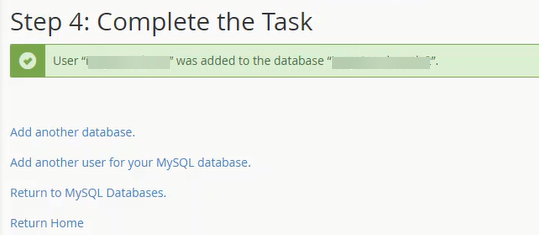
- The new database is now successfully created!
Run the Installation
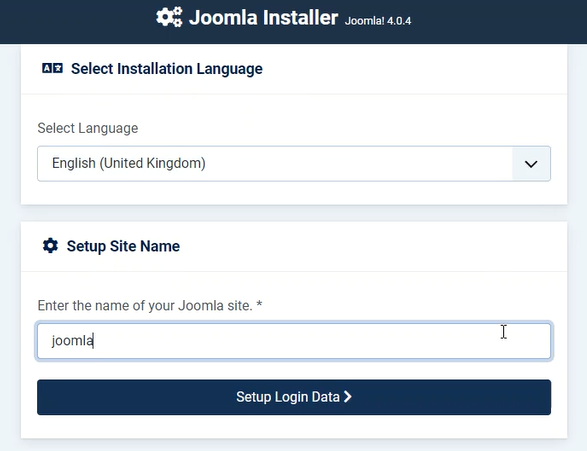
- In your web browser, navigate to the folder where you uploaded the Joomla files. In our example, files were uploaded in public_html, so run the installation at https://yourdomainnamehere.com. On the first screen, you will be prompted to select a language and enter the name of your Joomla site, then click Setup Login Data to proceed.
- On the next screen, you need to provide your login details: the super admin name, username, email address, and password. Click Setup Database Connection to proceed.

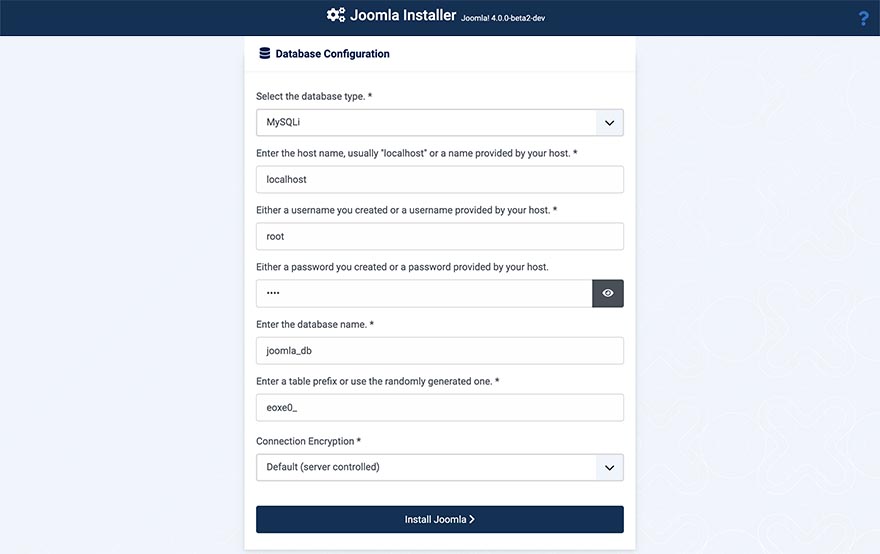
- Next is to enter the necessary information for your MySQL database, as mentioned earlier. For the database type by default, this value is set to MySQL. Put your IP address for the hostname. Enter the username, password, and database name you created for your MySQL database, then leave the default value for the table prefix and connection encryption. Once completed, click install Joomla.
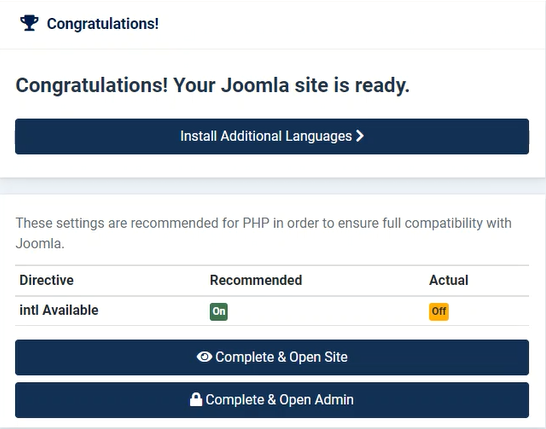
- On the next screen, you will be prompted that your Joomla site is successfully installed.