WebsiteBuilder: Getting Started
New to Websitebuilder? Don't worry. we have you covered. In this article, we will guide you through the following:
For more related articles, please click here.
Sign up for WebsiteBuilder
- Log in to your Domains Dashboard.

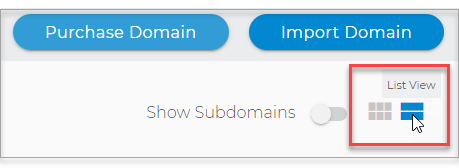
- The Domains Dashboard has two views, the Card and List view. You can switch between the two by clicking on the view icons at the top right corner.
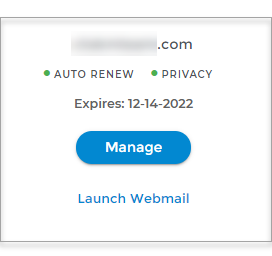
- In Card View, click Manage on the domain that you are working on.
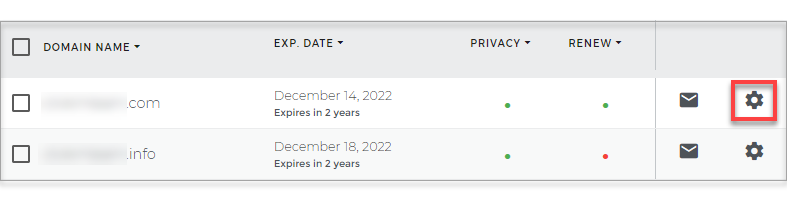
- In List View, click on the cog icon.
- In Card View, click Manage on the domain that you are working on.
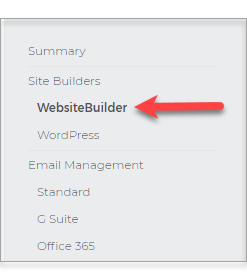
- On the left sidebar, click WebsiteBuilder.
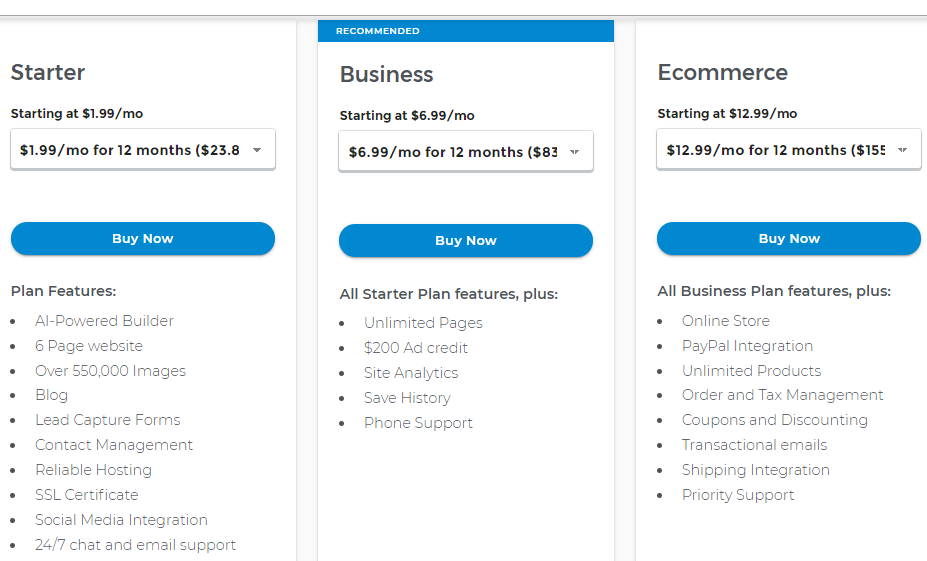
- Scroll down and click the View Plans button.

- Choose the plan that's perfect for you! Click the Buy Now button.
How to launch WebsiteBuilder?
-
Log in to your Domain dashboard.
- The Domains Dashboard has two views, the Card and List view. You can switch between the two by clicking on the view icons at the top right corner.
- In Card View, click Manage on the domain that you are working on.
- In List View, click on the cog icon.
- In Card View, click Manage on the domain that you are working on.
- On the left pane, click on WebsiteBuilder, under Site Builders.
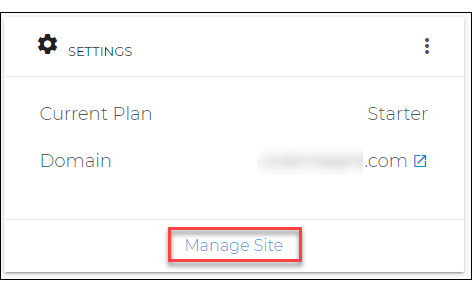
- Under Settings, click Manage Site. This action will open your WebsiteBuilder screen on a new tab.
Get started with your website
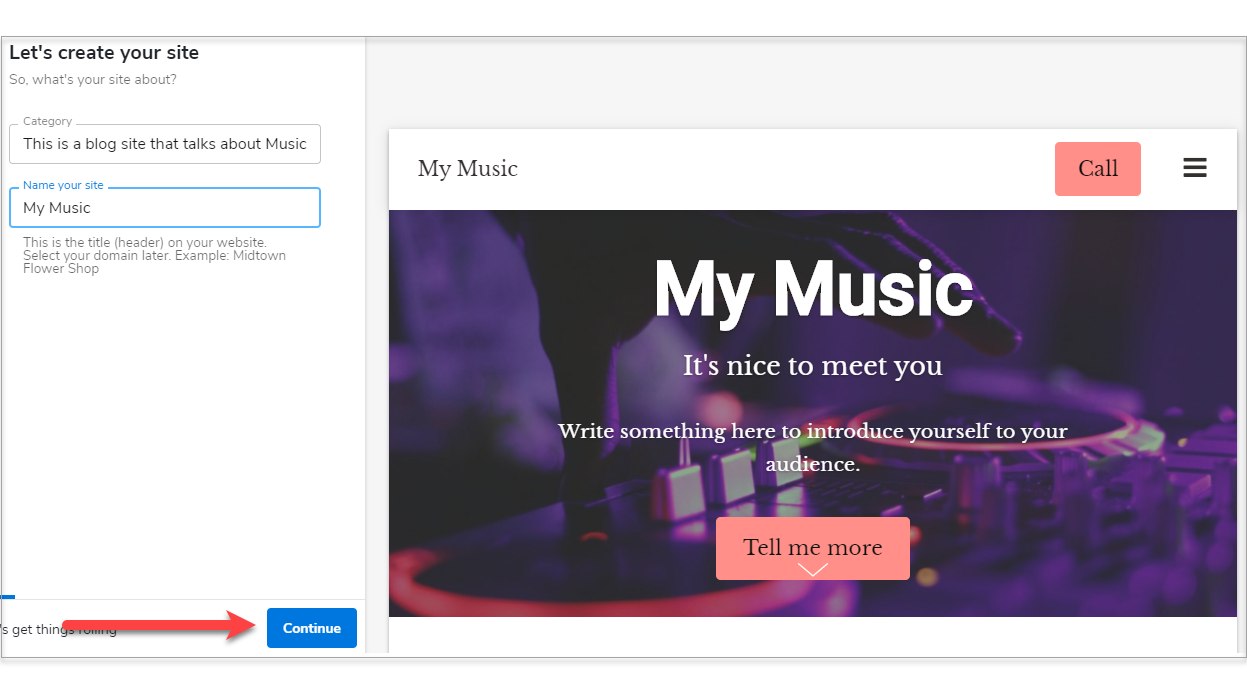
- Start typing and pick a category of your site.
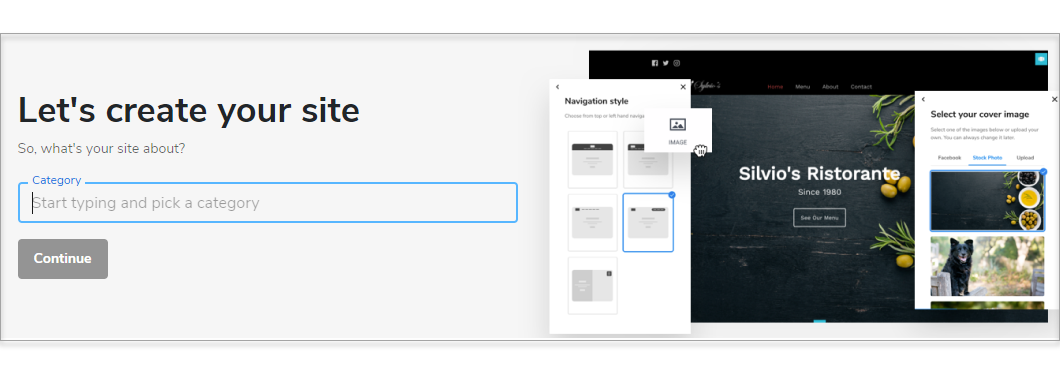
- Name your site and click Continue.
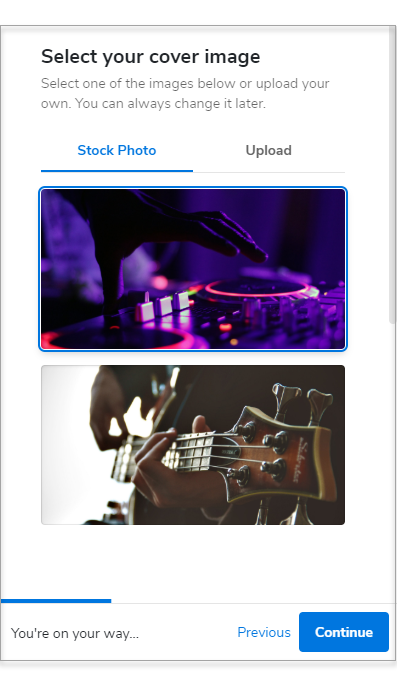
- Select your cover image and click Continue.
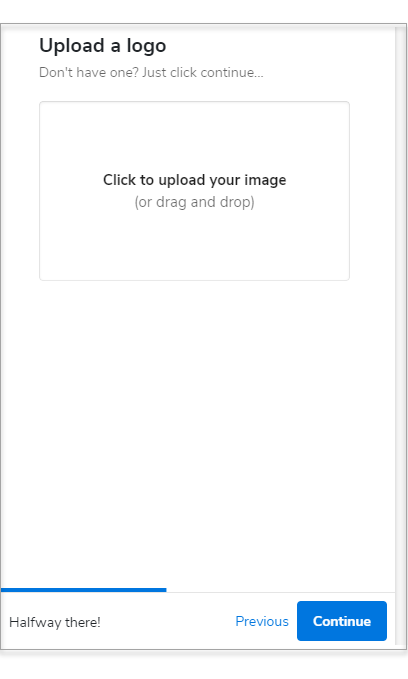
- Upload your site logo. If you don't have one yet, click Continue.
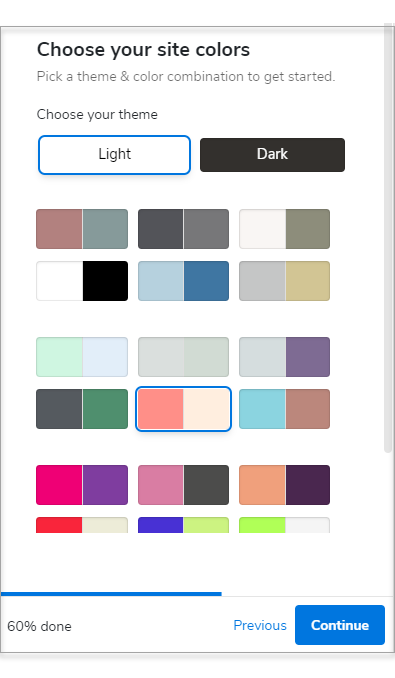
- Pick a theme and color combination for your website.
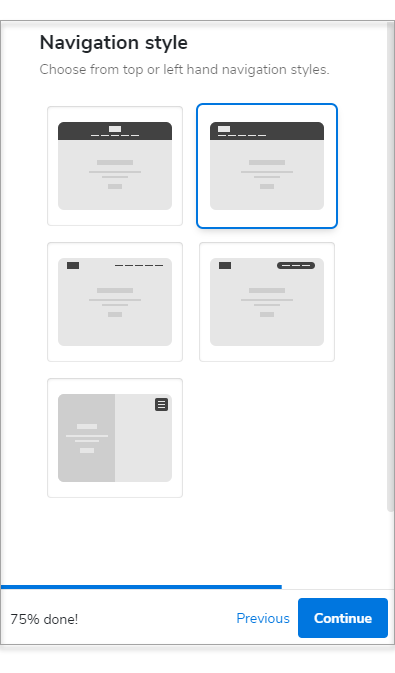
- Choose a Navigation Style.
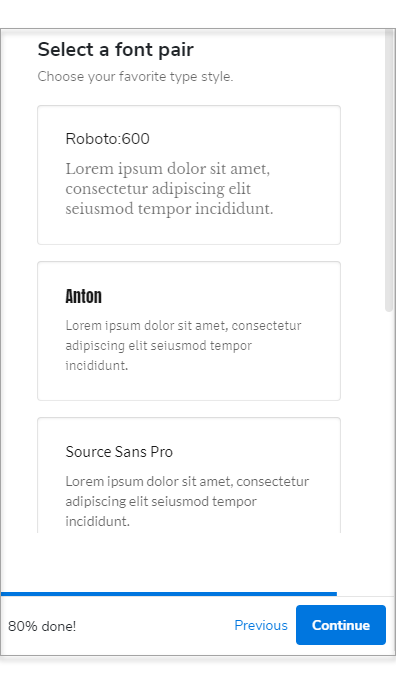
- Select a Font Pair.
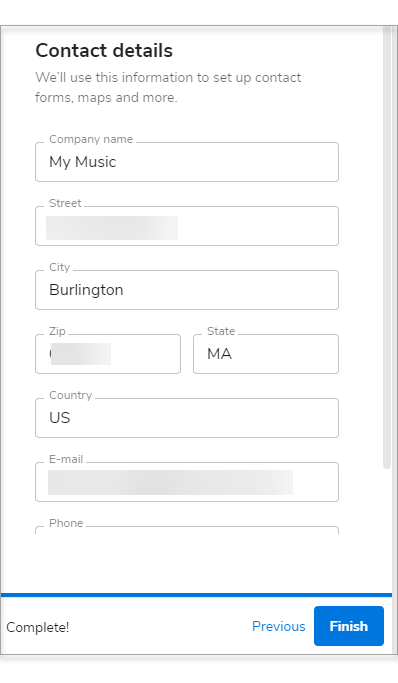
- Type in your contact details. We'll use this information for your contact forms, maps, and more.
- Click Finish.